


Bambu PLA Sparkle
Bambu PLA Sparkle is a next-level aesthetic filament that combines strength and sparkle. With metal particles included in its composition, Bambu PLA Sparkle adds a special sparkling look to your prints that sets them apart from the rest.
However, it is not recommended to use a 0.2 mm nozzle for printing as clogging may occur. Take your 3D printing projects to new heights with Bambu PLA Sparkle!
RFID for Intelligent Printing
All printing parameters are embedded in RFID, which can be read through our AMS (Automatic Material System).
Load and print! No more tedious setting steps.


| Recommended Printing Settings | |
| Drying Settings before Printing | 55 °C, 8 h |
| Printing and Keeping Container's Humidity | < 20% RH (Sealed, with Desiccant) |
| Nozzle Temperature | 190 - 230 °C |
| Bed Temperature (with PVP Glue) | 35 - 45 °C |
| Printing Speed | < 250 mm/s |
| Physical Properties | |
| Density | 1.26 g/cm³ |
| Vicat Softening Temperature | 57 °C |
| Heat Deflection Temperature | 55 °C |
| Melting Temperature | 156 °C |
| Melt Index | 34.2 ± 3.3 g/10 min |
| Mechanical Properties | |
| Tensile Strength | 39 ± 3 MPa |
| Breaking Elongation Rate | 11.7 ± 0.7 % |
| Bending Modulus | 2350 ± 140 MPa |
| Bending Strength | 75 ± 4 MPa |
| Impact Strength | 66.5 ± 3.6 kJ/m² |
What's in the Box:

Filament*1 & Desiccant*1
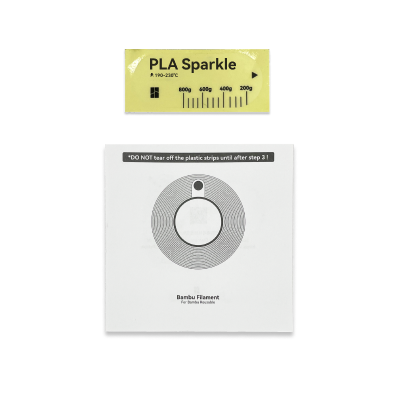
Instructions*1 & Spool Sticker*1
Package*1
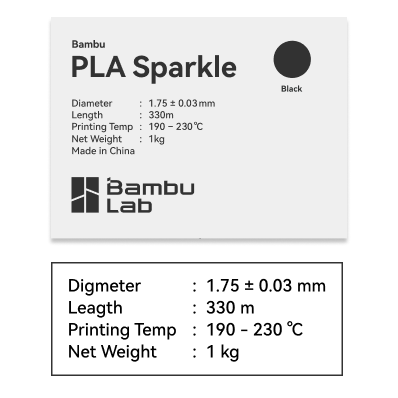
Filament Label*1
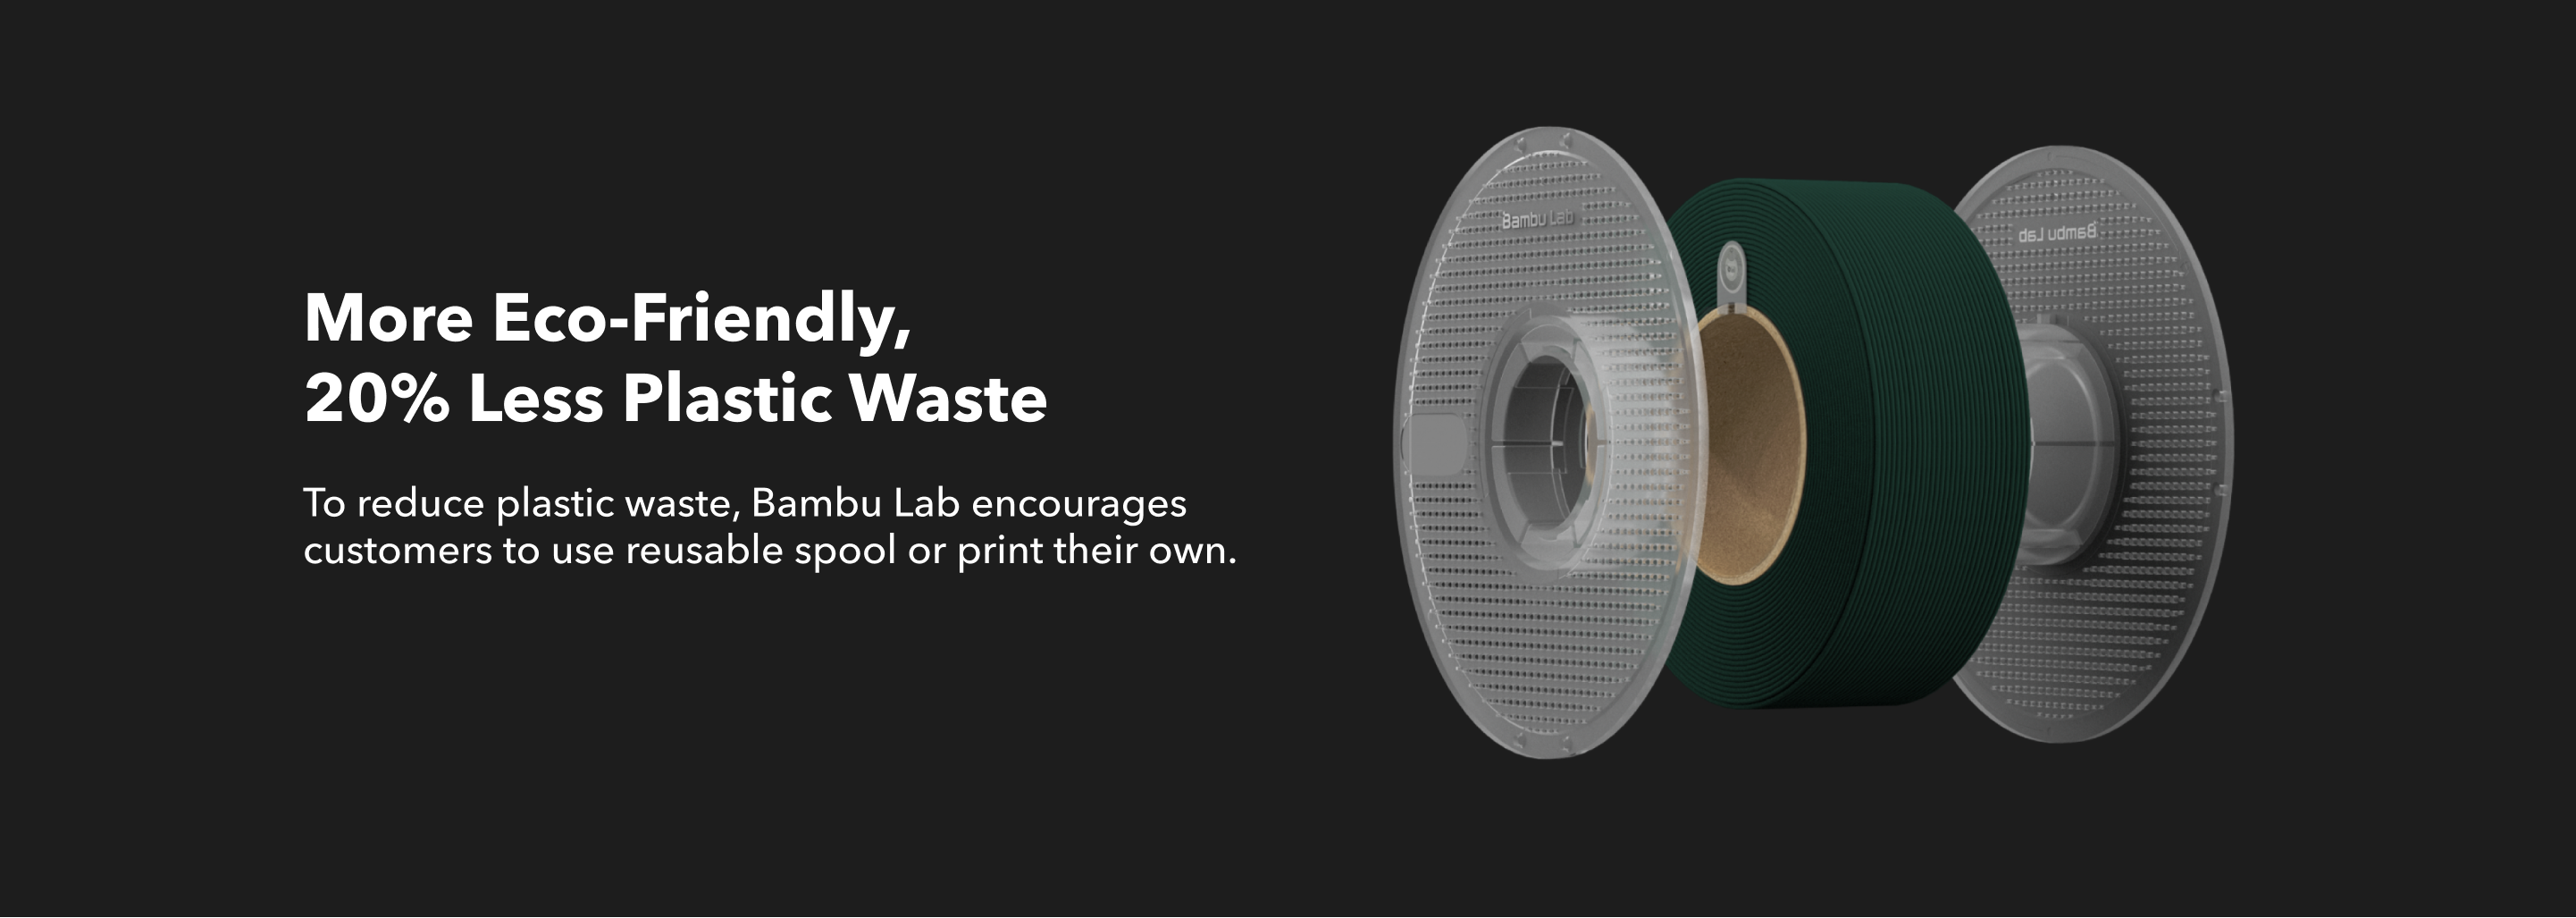
Instructions for Printed Spool
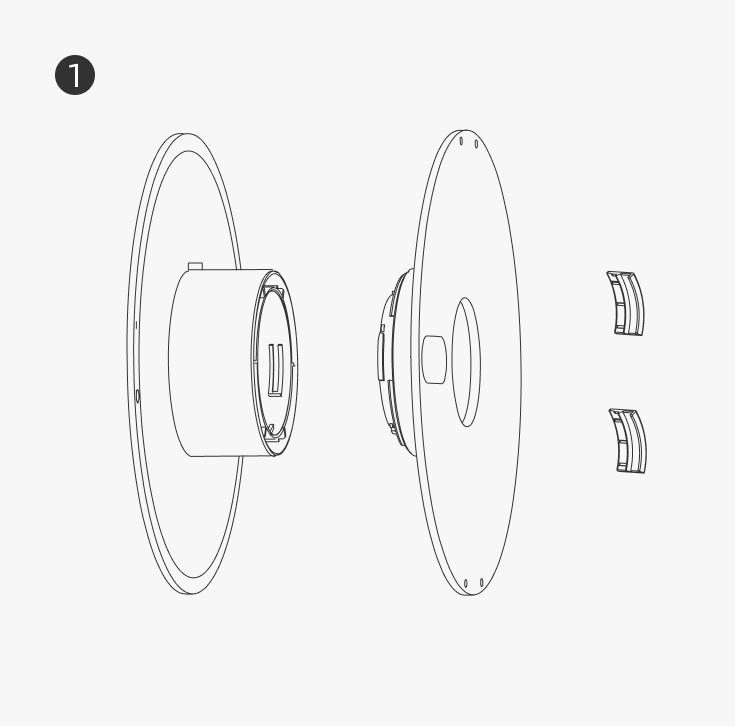
When you're finished printing, you will have a wide piece (1x), narrow piece (1x), spacing shim (2x).

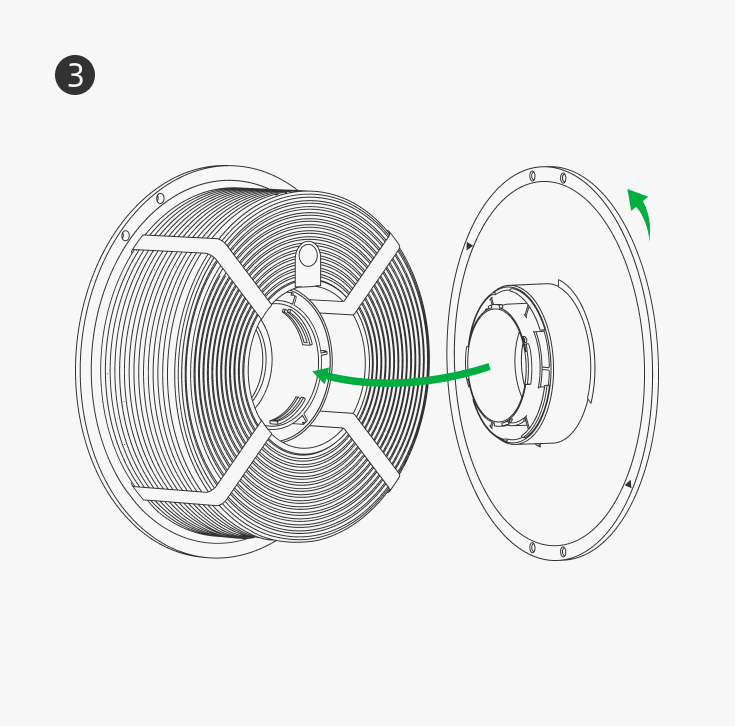
Find the locator (a tiny block on the wide piece). Align it with the notch on the inner ring of the filament roll. Insert the wide piece into the filament roll.
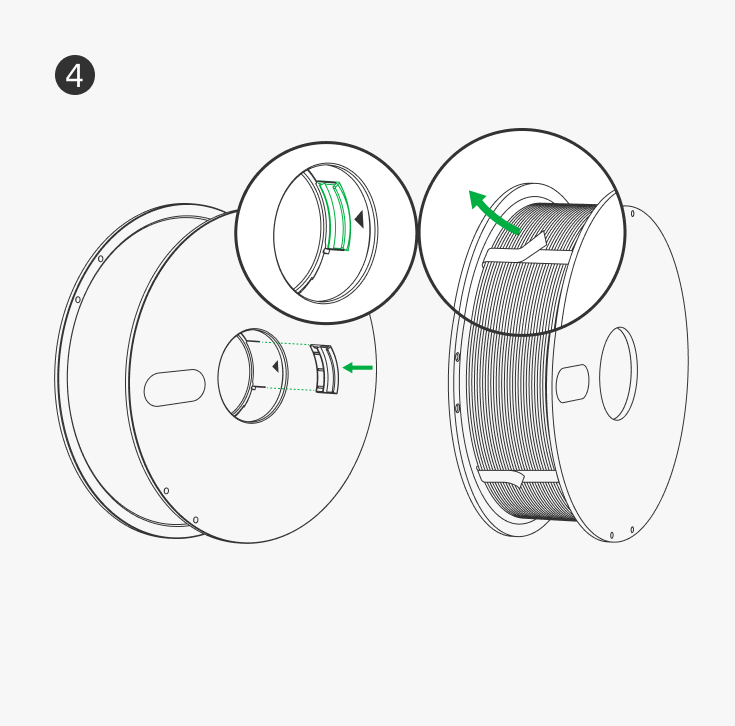
Step 1. Insert the narrow piece and align the groove of each piece inside of the spool until it is pushed firmly into the wide piece.
Step 2. Once it is pushed firmly into the wide piece, rotate the narrow piece clockwise until it slides into place and you hear it lock.
Step 1. Make sure the spacing shim is installed inside the spool (under the triangle).
Step 2. Tear apart and pull out the plastic strips.